top of page

Hey I'm Fia Rose! Animator, Musician, and Illustrator
Concept:
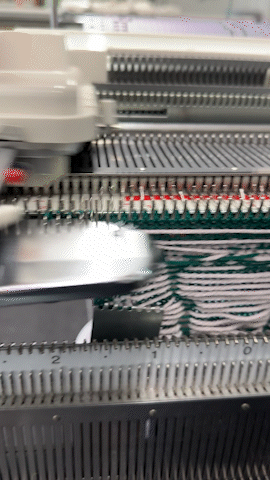
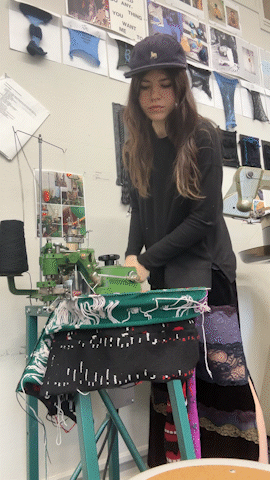
My two biggest passions are motion graphics and fiber art. I've hand knit clothes for the past few years and I had been looking forward to taking my first machine knitting course at SCAD since enrollment. When I first joined I was learning all the basics of machine knitting like the photo on the right. Once I found out about Fair Isle technique my world was instantly changed. Fair Isle uses a roll of plastic with a grid on it. You hole punch your designs into the card and it pulls out a different color to make your design. I instantly knew what I would do for my final. Shatter the boundaries of my two passions. A knitted stop motion.


5th step: Start knitting, go to the yarn store for more yarn, knit again, go to the store again.
6th step: Realize you have no idea how to photograph a textile animation. My dad has dope wood working skills so I sent him a sketch of a wooden camera stand with nails at the end so I could pull the knit taut capturing a even frame each time with the same camera distance. He made it and got it to me right away. #bestdadever
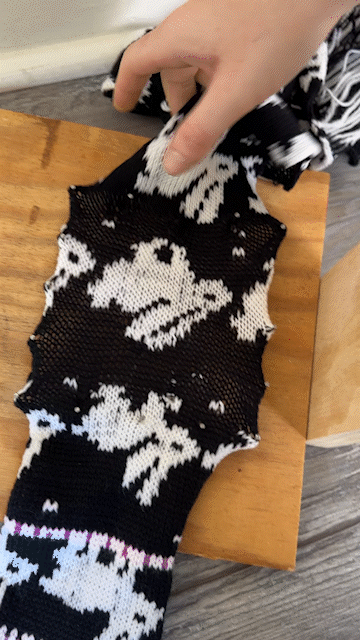
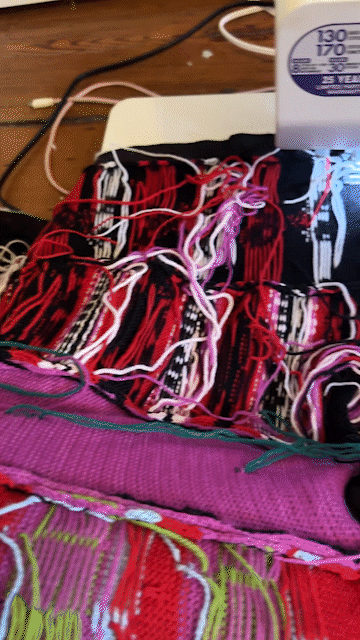
7th step: finish knitting and capture all your photos.
8th step: Use a machine called "The Linker", this basically crochets each frame together.
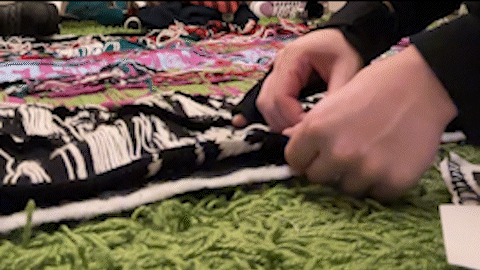
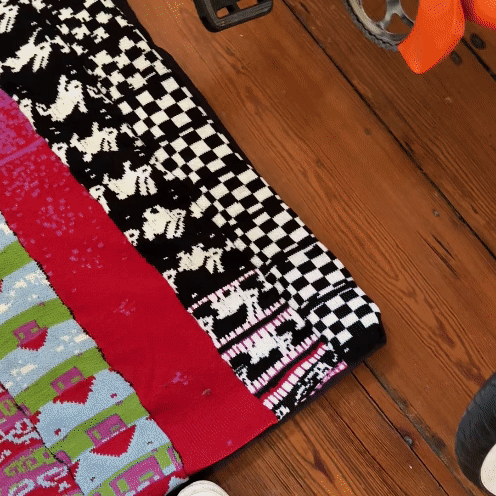
9th step: Pin the linked knitted strips to backing fabric.
10th step: Sew it all together.
11th step: Edit the stop motion together.
12th step: Honor your animation while
wrapped in the animation blanket


Process:
1st step: Figure out if this is even possible. Given the 5 weeks that I have, yarn prices, effort and technicality of making a knitted animation look good, I doubted myself.
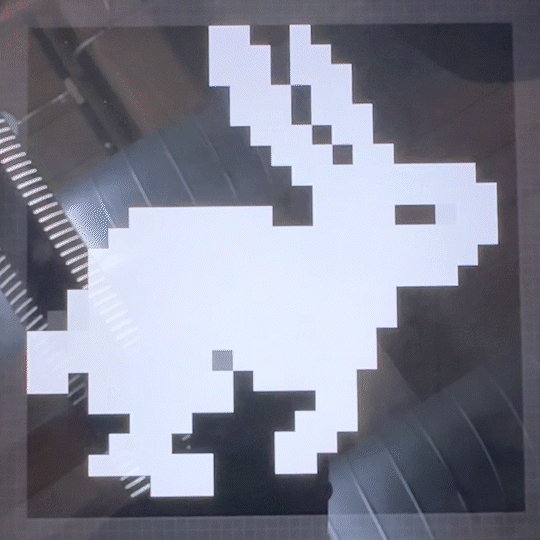
2nd step: draw out the animation in grid format. I created a 27 x 30 grid on procreate for the animation.
3rd step: trace the frames onto the knitting cards
4th step: Hole punch the design. this is where my momentum slowed down... a lot. For these cards you have to use a single hole hand puncher. this is when i ended up breaking my pinkie finger in the process, and yet continued to hole punched day and night. Each frame was around 100 hole punches.
bottom of page